Showing posts with label snack. Show all posts

17.2.12

Original Kale Chips (Sweet and Tangy)


Wait. What? You've never had kale chips? Have I not explained the immense deliciousness and nutritional goodness of kale many times before? Kale chips are better than potato chips, in every sense of the word. They're crunchy, salty, curly, and a hint bitter. And you can eat twenty billion and still feel very, very healthy.
Original flavor stars cashews, red peppers, and nutritional yeast. Nutritional yeast has protein and is low fat, and tastes kind of creamy. It comes in yellow flakes that I sprinkle on many things. My granola, pasta, salads... It's yummy. To start this recipe off, you soak the cashes. (This recipe is raw vegan; raw cashews! Though if you don't really care, you can cheat and use roasted, and while I dehydrate the chips at a temperature that still counts as raw level, one can use an oven instead. More on that later.)
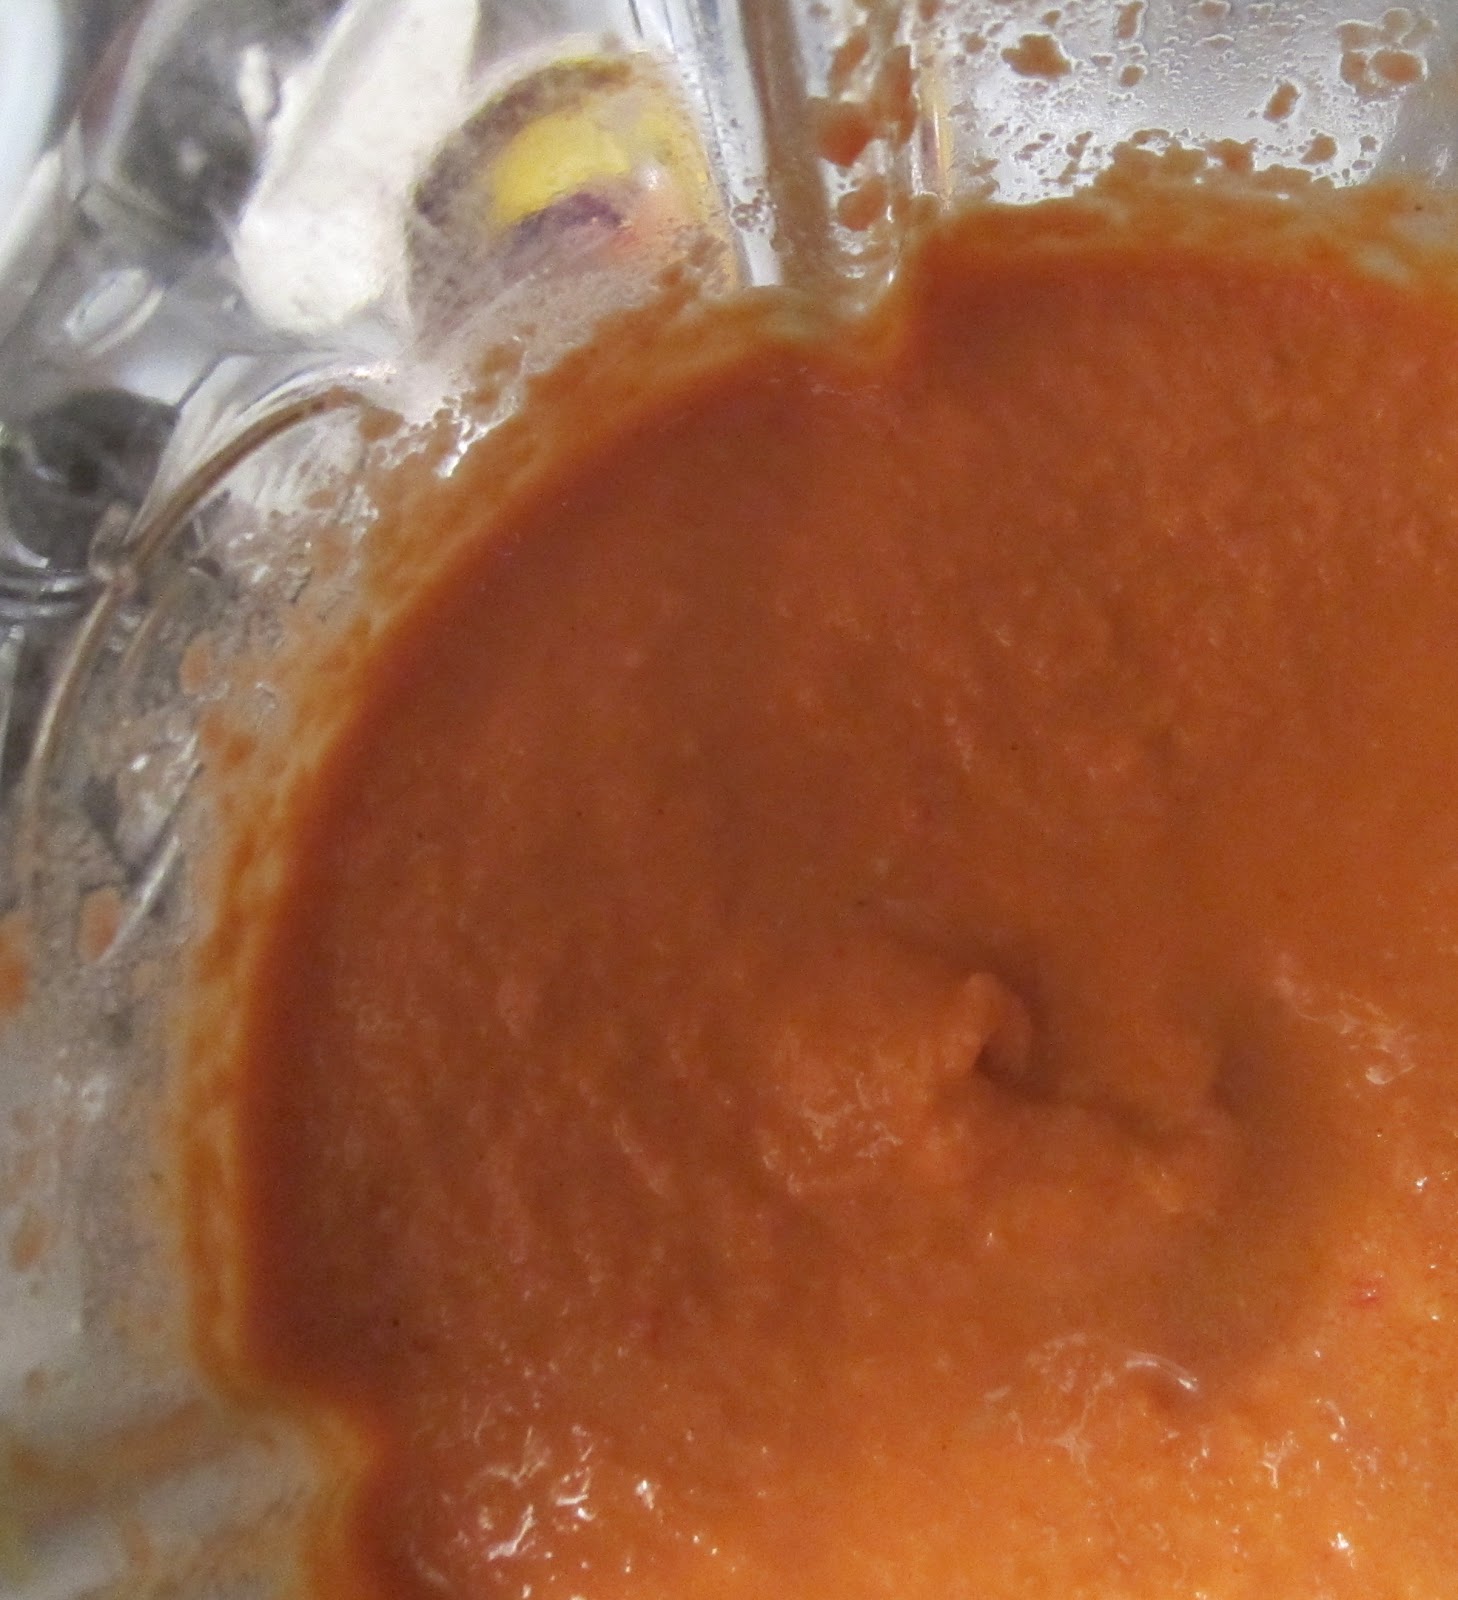
The next step is to blend all the other ingredients together to make the sauce.
And, after a serious destemming of the kale and a generous tossing of the sauce, you bake the chips up.
Believe me, this jar was full and I had extra before this picture was taken. I was too busy eating to take any pictures until much after. This again happened with my next batch, lemon-tahini flavor, so I don't think I can post it until I've made a new batch.

 In short, these chips were the bomb. Make them a day before you want them, though, because you have to soak the cashews and de-stem the kale (an awful  momentous task) and, if you're using a dehydtrator, dehydrate all night.

Kale Chips
adapted from love veggies and yoga
makes a real lot, but gets all eaten scarily fast.


note: while I dehydrated these chips, keeping them raw vegan and, I think, giving them that great powdery crunch, you can quite easily adapt this for a normal oven. Bake at 300 F for 20 minutes, flip, and continue for 10 more. Or experiment on your own. The lower the temperature for the longer gets you closer to dehydrator results.


1 medium bunch kale (size varies from bunch to bunch; this recipe works with any size)
1 cup cashews (soaked for at least one hour)
1 medium red bell pepper
juice of half a lemon (2 Tbsp)
1/4 cup (or more) nutritional yeast
1 tsp salt

Wash and destem kale. Put aside.
Chop the pepper and drain the cashews. Add to blender with the lemon, nutritional yeast, and salt. Blend until smooth.
Toss sauce with kale, which should have a fairly thick, uneven coating. You may have extra sauce, which you can put aside and use as dip or for other uses. I'm also someone who loves the bites with an explosion of flavor, so I do a very thick coating.
Put on dehydrator screens (or baking pans if using an oven) and dehydrate at 145 F for 2 hours, and then 118 F for 6 hours-overnight. The longer, the crunchier. If you feel up to it, flip with two hours remaining.
Keeps for over a month in an airtight container, if you can refrain from devouring them all for that long.

28.1.12

Zucchini Squares

 I have a confession to make.
...No, it's not that I have trouble spelling zucchini (true, though. Along with broccoli.)
 I used Bisquick in this recipe. For those who don't know me, I have been called a food snob. Fairly often. That means I don't use cake mix, I don't make microwaved baked potatoes, and that at the age of seven I walked into a family friend's kitchen and correctly identified the process being applied to a pan just emptied of food (answer: balsamic reduction). So Bisquick is a no-no. I had to go across the street to the non-gourmet supermarket to even find it. Did you know Bisquick isn't refrigerated? It just sits there in its yellow jug on the shelf next to the cocoa powder (Not organic? Not fair trade?) and the highly processed white sugar.
 But the recipe was intriguing, because it's kind of a focaccia with whole zucchini on top and inside, instead of the traditional loaf with grated zucchini. And I wasn't in the mood to remaster the recipe to fit my level of food snobbery. So, surprising myself, I went to that non-gourmet supermarket and brought back a container of Bisquick.
I added a lot of parsley though. And it was very good. A bit sweet for something savory, but fluffy and lovely cut into squares to munch on ironically with the friends who make the most fun of your food snobbery and would never expect the recipe involved a buttercup yellow plastic jug.

There was some Bisquick left over. I made pancakes. But I added some buckwheat. Even my father, who raised me up to such a level of whole grains and no sulphates, didn't notice the hint of hydrogenated dehydrated vegetable oil.

Zucchini Squares 
adapted from Brown Eyed Baker

note: if you do want to make this and rid yourself of Bisquick madness, I expect you can substitute in 2 cups of flour, 2 tsps baking powder, and 1 tsp salt, fairly adequately. I haven't tried it though, so don't take my word for it.

5 eggs, lightly beaten
1/3 cup vegetable oil
1/2 cup grated Pecorino Romano cheese
1/4 cup chopped fresh parsley
1/2 tsp salt
1/2 tsp dried oregano
1/2 tsp garlic powder
1/2 cup diced onion
2 cups Bisquick
3 cups thinly sliced zucchini medallions
coarse sea salt, for topping

Preheat oven to 350 degrees F. Grease a 9×13 pan and set aside.

In a large bowl whisk together the eggs, oil, cheese, parsley, salt, oregano and garlic powder. Whisk in the onion, and then the Bisquick. With a rubber spatula, gently stir in the sliced zucchini, being careful not to break up the slices. Turn the mixture into the pan and smooth the top. Sprinkle with coarse sea salt, to taste.
Bake until puffed and golden brown, 25 to 30 minutes. Let cool to warm room temperature before cutting into squares. Will last 4-5 days in the fridge.

25.11.11

Sweet and Salty Roasted Chickpeas

 Ok, these are addictive. Possibly because they're super easy, cheap, and fast. And they're truly only chickpeas, so you tell yourself, how bad could they be for you?
 I won't answer that question. I've decided I like this better than popcorn. Yes, popcorn from the movies that is bright yellow and tastes like fake butter sauce is a must have on certain occasions, but I've decided that when I'm curling up on my bed to watch a movie at home (read: When Harry Met Sally) this is what my hand is going to be sticky with.
Really, you just open a can of chickpeas and roast them, and then toss them in oil and sugar and salt and cinnamon. If you want savory, you can do that too. I have this really great chile lime seasoning I threw on them. Eat it for snacks, dessert, at dinner--whatever. It's yum.

Sweet and Salty Roasted Chickpeas
adapted from the Cupcake Project

1 can/14 oz chickpeas (garbanzo beans), drained
2 tsp olive oil
1 tsp cinnamon or your spice(s) of choice
1 1/2 tsps brown sugar
dash of sea salt

Place chickpeas on a baking sheet and bake at 450 F for 30 minutes. (The oil and spices come after.)
Transfer chickpeas to a small bowl and mix with the rest of the ingredients.
Enjoy hot, or bring to room temperature and store in an air-tight container.