7.4.12

Key Lime Pie Cupcakes

 Yes, once more I have failed you in the picture taking department. I was really, really busy, you see. Busy doing what, you ask? Um. Eating all of these cupcakes. Except this one, which I was able to photograph, looking like not so much at all.
Listen. Trust me. It's not not so much at all. These cupcakes are a whole lot of something. Key limes and sweetened condensed milk make the cake pop with flavor and moist texture, and the graham cracker frosting simulates perfectly the pie crust. I--ugh, I could wax poetic, but I feel that it's in everyone's greater good to just go make it. 
I assume you can use a bottle already-squeezed key lime juice, which I might go so far as to recommend, because squeezing each baby little lime of its precious juice is a serious chore. Especially if you're me and you always have cuts all over fingers. 

Key Lime Pie Cupcakes
adapted from the Cupcake Project
makes 12-16 cupcakes

key-lime cake 

1 1/2 cups cake or all purpose flour
2 tsp baking powder
pinch of salt
6 tbsp unsalted butter, room temperature
1 cup sugar
3 large eggs
1/2 cup sweetened condensed milk
3/4 cup key lime juice

Preheat oven to 350 F and line a cupcake tin.
In a small bowl, whisk together flour, baking powder, and salt. Set aside.
In a medium-sized bowl, cream butter and sugar. Mix eggs into butter/sugar, one at a time.
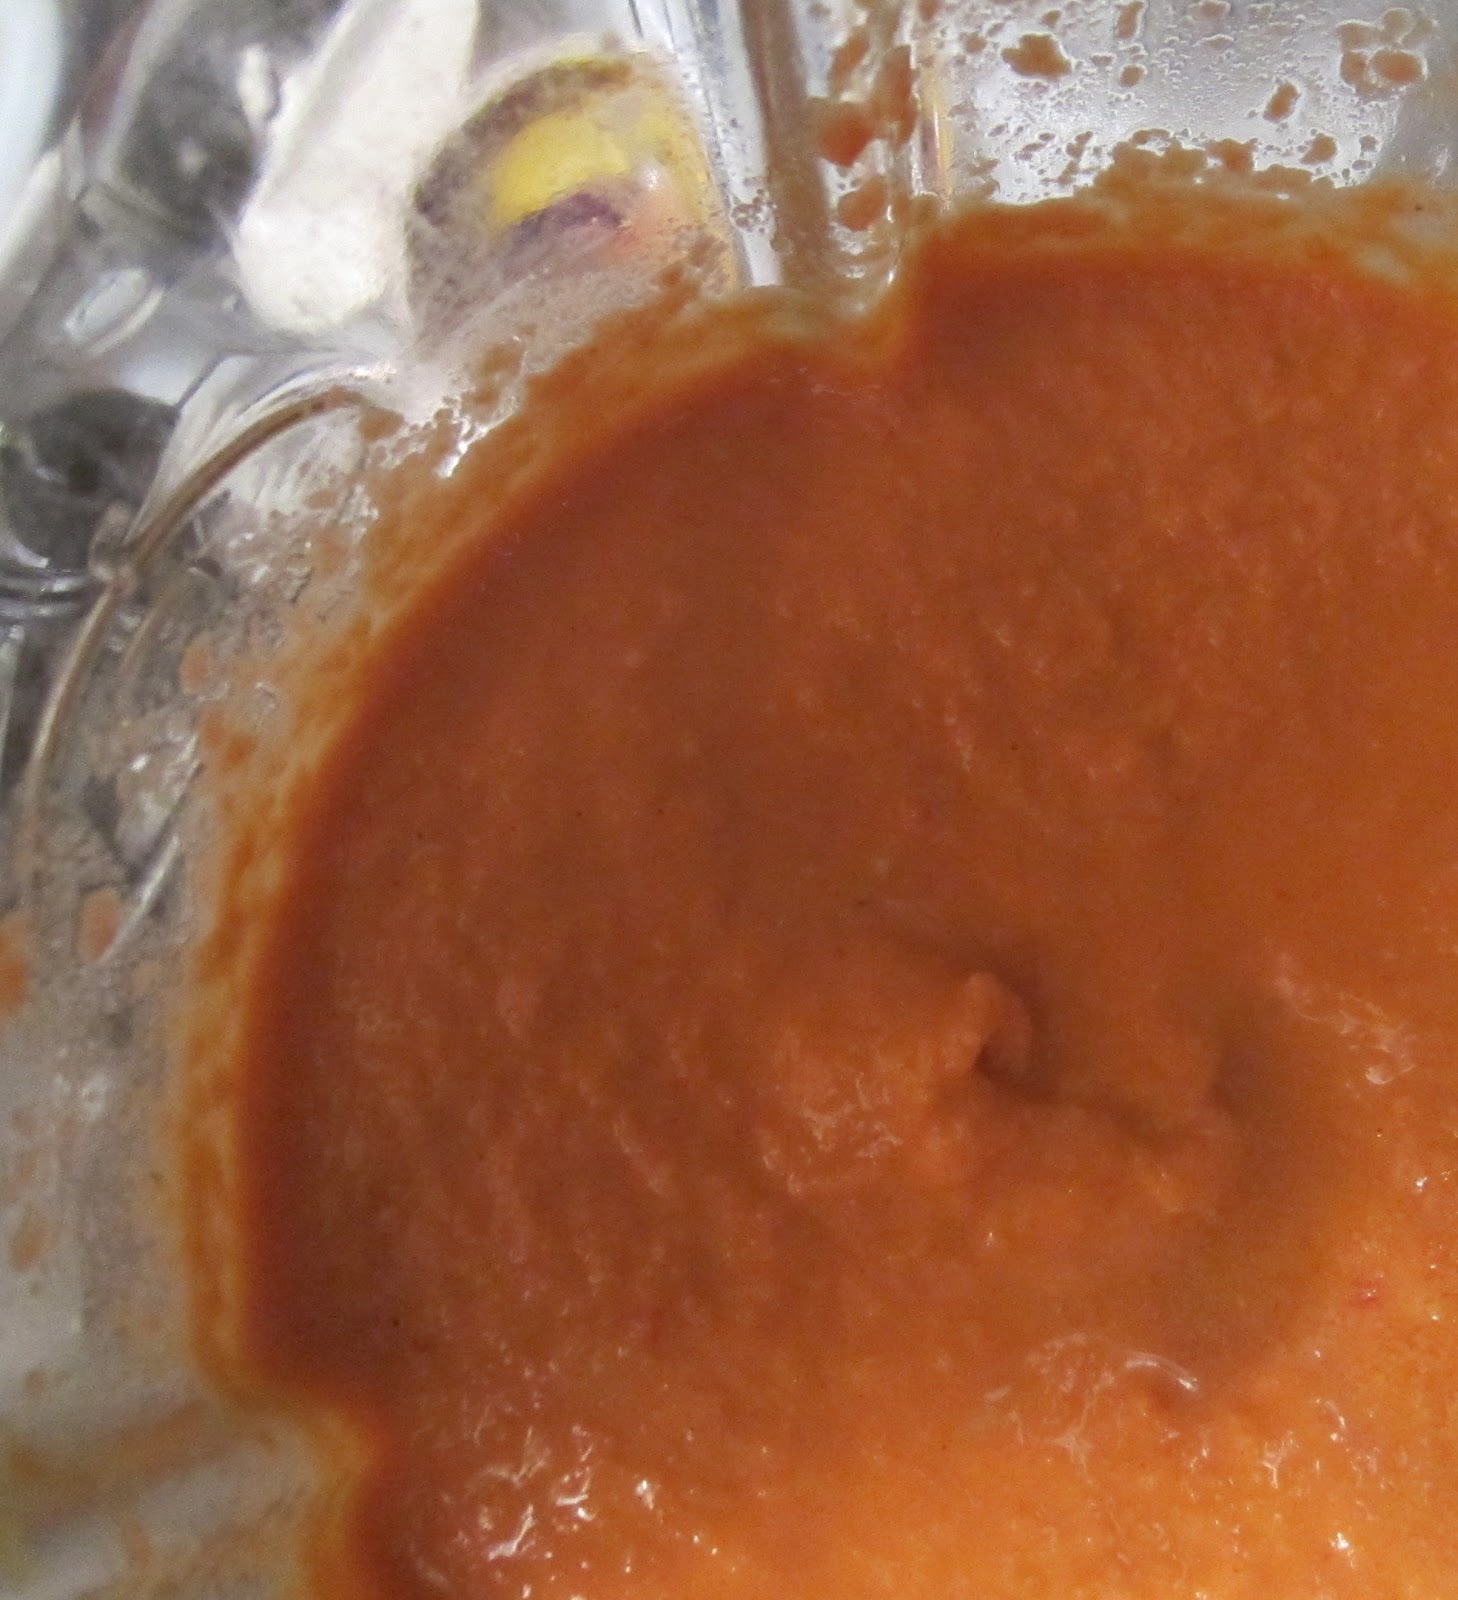
Mix sweetened condensed milk and key lime juice into wet ingredients.
Mix dry ingredients into wet ingredients until just combined.
Divide evenly and bake for 30 minutes or until cupcakes bounce back when touched lightly. 

graham-cracker frosting

3 tbsps unsalted butter, room temperature
8 oz cream cheese, room temperature
1 1/2 cups powdered sugar
2 tsp vanilla extract
1 1/3 cup finely crushed graham crackers

In a large mixing bowl, beat butter and cream cheese until light and fluffy.
Mix in the powdered sugar a little bit at a time. Note: You can add more if you prefer a stiffer consistency. Mix in vanilla extract.
Fold in graham crackers.

Frost cupcakes.

24.3.12

Spaghetti with Vegan Alfredo Sauce and "Meat"balls

 Dammit these photos suck. My constant plight: do I make the food and then spend hours getting the right shot? Or do I eat it while it's still hot, in the company of friends, and bad lighting? Certainly for this meal I went with the latter.
I'm not vegan, but there is something I absolutely love about making something when you have restrictions. I had vegan friend for dinner, so I went all out. We made some kale salad, too, and had homemade peanut-butter cups for dessert (just buy vegan chocolate). The crowning glory was this pasta dish. The alfredo gains its creaminess largely from cashews, which are often substituted in place of dairy. The meatballs were fabulous. They benefited from putting a whole lot of flavors in. The great thing about vegan food is there's often a lot less cooking. The alfredo is raw: all you have to do is put everything in the blender! And the balls you just mix together, form, and bake. It was a really great meal. The one thing I would warn is don't go into this looking for the glory or taste of traditional, mother's alfredo or meatballs. It's a beast of its own accord.

Pasta with Vegan Alfredo Sauce and "Meat"balls
makes 4-6 servings
adapted from Vegan Yum Yum and My Vegan Cookbook

for meatballs
(note: sorry I haven't added in instructions for the lentil and brown rice! I'm a bit of a freak and I often have them leftover in my fridge and I'm too lazy to add cooking instructions right now. Neither should take too long though, especially if you use a pressure cooker.)

1/2 cup cooked lentils
1 cup cooked brown rice
1/4 cup old fashioned oats
1/4 cup wheat germ
2 tbsps soy sauce
2 tbsps olive oil
2 tsps lemon juice
1/4 cup whole wheat flour
1/2 tsp salt
1/2 tsp black pepper
1 tsp balsamic vinegar
1/8 tsp nutmeg
1 tsp chili powder (optional)
1/2 tsp garlic powder
1 tsp onion powder
2 tsps molasses
2 tsps dijon mustard

Preheat oven to 300 F.
Mix all ingredients together in a bowl. If mixture isn't sticking enough, add a little water. 
Measure out 2 tablespoons of mixture for each meatball if you want them big, or 1 if you want them mini (like I did) and roll into a ball with your hands. 
Spray cooking sheet and place meatballs on it. Place into oven and cook 15 minutes on one side and roll over and cook 15 minutes on the other side. 
After they are out of the oven, let stand for about 10 minutes to allow them to firm up. They may crumble a bit, but that's ok. They still taste great in bits.

for alfredo sauce
1 cup soymilk
1/3 cup raw, unsalted cashews
1/4 cup nutritional yeast
3 tbsps soy sauce (low-sodium is best)
2 tbsps earth balance buttery spread
1 tbsps tahini
1 tbsp fresh lemon juice
2 tsps dijon mustard
1/2 tsp paprika
1 sprinkle nutmeg
4 cloves garlic, crushed with the back of a knife
black pepper, to taste

Add all the ingredients to a blender and blend until smooth. Strain if you want really smooth, but I personally like the crunchy cashew bits. Adjust flavoring as you see fit.

for spaghetti
2 lbs spaghetti
boiling water

Cook pasta in boiling water until al dente, 8-10 minutes (or whatever the box says) and drain.

assembly
In a large serving bowl, add hot pasta and alfredo sauce. Mix thoroughly, then throw in meatballs. Serve!


11.3.12

Cantaloupe Horchata

 People who do know what horchata is often know it as its traditional, basic rice version, with milk and cinnamon.
What most people don't know is that you can also make fruit horchatas. In this case, there is no rice involved. What qualifies it with horchata status is that something unusual is added. Or, I should say, not removed. For cantaloupe horchata, everything--save the rind--is added. The fruit, the pulp, and the seeds. The seeds give it an odd, deep body that takes some time getting used to but is very impressive once you've come to terms with. I know I should be making this closer to summer, but I couldn't help it. A girl's gotta do what a girl's gotta do. If, um, I mean, if that means making horchata.

Cantaloupe Horchata
adapted from Mark Bittman's Best Recipes in the World
serves 4.


1 ripe cantaloupe
1/4 c. fresh lime juice (about 2 limes)
1/4 c. sugar (to taste)

Cut the cantaloupe in half and scoop everything–fruit, seeds, and pulp–into a blender. Add a couple tablespoons of lime juice and sugar and 2 cups of water. 
Blend until smooth (this could take a bit of time). Taste and adjust the lime juice and sugar. You can choose to strain the drink at this point if you want, then serve cold immediately or store in fridge.

4.3.12

Peanut Butter Button Cookies

 When I say button I actually mean it. They look like actually buttons.
 Simple peanut butter cookie recipe. I will you save you from the fate of your cousins: no fork tines will scrape your back.
 As you can see, these cookies are pretty small. As uncooked balls they should fit inside a bottle cap.
 We're getting to the fun part. Just as the cookies come out of the oven, still warm, you have to make the buttons. Hurry, there's not a lot of time before they get too rigid and cool.
 How do you make the cute little button-ridge? That afore-mentioned bottle cap. Press it into the cookie. Perfect.
 Then the holes? It involves a straw. Bring it down and give the straw a smart turn. When you draw up, you should have left a neat hole for your button. This is fun for the first, oh, 100 holes. Then it starts to get sucky. Wait, did I mention? The cookie left from the button holes accumulate. What's really fun? Sucking them out of the straw. Like a pneumatic tube that ends in your mouth.
These make great gifts. Put them in a jar and tie with a ribbon. That's what I did. ANd the best thing about giving a gift of food? You often get to help eat them.

Peanut Butter Button Cookies
adapted from Bakerella and allrecipes
makes about 60 tiny buttons


note: bake these in about four batches. As you take one out, put the next in and start transforming the done batch into buttons. As you finish, the next batch should be ready. Be careful not to bake too many at one time, because they'll cool and harden before you're ready to work with them.

6 tbsps unsalted butter
1 cup creamy peanut butter
3/4 cup turbinado sugar
3/4 cup packed brown sugar
2 eggs
2 1/2 cups all-purpose flour
1 tsp baking powder
1 1/2 tsps baking soda
1/2 tsp salt

Preheat oven to 375 degrees.
Cream together butter, peanut butter and sugars. Beat in eggs.
In a separate bowl, sift together flour, baking powder, baking soda, and salt. Stir into batter. 
Optional: at this time, you can chill in the refrigerator for an hour to help combat spreading when they bake.
Roll into balls that will fit inside a soda cap and put on baking sheets.  
Bake for about 6-10 minutes or until cookies begin to brown. Do not over-bake.
While cookies are still warm and soft, press the soda top into each to make an indent in the middle,a nd then use a straw to poke four button holes for each cookie. Some will crack. Don't worry. Those are for eating while you work.

27.2.12

Kale Salad with Pine nuts, Currants, and Parmesan

 This is what I made with the leftover kale I had after making Kale Chips. You can, of course, make a billion dishes with kale, two others that I linked on my Kale Chips post. But here's another good thing.
 I actually also made this dish for Thanksgiving, too. See how the leaves look wilted? In my last kale salad, I steamed the kale. Here, it is actually raw. What? Raw? Isn't it, like, hard, and bitter, you know? ...No. Not really. In fact, not at all. The trick? Massage. Oh, yes. This involves some oil and some rubbing and some time to get really personal with your dinner.
Massaging the kale is actually kind of nice. You pick it up and squeeze and toss and rub and turn, and all of a sudden, the kale is supple and a vibrant shade of green. But it still has a bit of a crunch. You can let it sit for an hour or two before serving, to let the olive oil do its thing a bit longer. Oh, and once you get past the whole massage concept thing, you've got to appreciate the flavoring. It just screams soothingly murmurs sophistication. The strips of parmesan give it some licks of salt, the currants add pops of sweet, and the pine nuts confer nibbles of fat. And it's still healthy!

Go on. Dim the lights. Burn some incense. Drizzle that olive oil. You won't regret it.

Kale Salad with Pine nuts, Cranberries, and Parmesan
adapted from Epicurious
serves 4.

note: the currants are soaked overnight to plump. If this is too much work or you haven't planned ahead (my classic problem) just substitute cranberries, unsoaked. This is also very very good.
note note: this calls for one small bunch. Eyeball it. if you're making this with leftover prepped Kale from Kale Chips, you may want to reduce it. But you can also just make the full dressing and only add as much as is needed.

1 tbsps dried currants
3 tbsps white wine vinegar
1 small bunch Tuscan kale
1 tbsp pine nuts
1/2 tbsp unseasoned rice vinegar
1/2 tbsp honey
2 tsps extra-virgin olive oil
dash salt
Parmesan cheese shavings


Place currants in small bowl and add white wine vinegar. Let soak overnight. Drain currants and reserve currant vinegar.
Derib and destem the kale, and tear into bite size pieces. Put into salad bowl. 
Lightly toast the pine nuts. Keep a close eye on them; they burn fast.
Add currants and pine nuts to the kale.
Whisk the reserved white whine/currant vinegar, rice vinegar, honey, oil, and salt in a small bowl. 
Add to salad bowl and begin to massage. This involves gently kneading, squeezing, and tossing. It will make your hands nice and soft. After five minutes or so, the kale should be tender and a brighter green. 
Season to taste with salt and pepper. Sprinkle cheese shavings over salad and serve.

17.2.12

Original Kale Chips (Sweet and Tangy)


Wait. What? You've never had kale chips? Have I not explained the immense deliciousness and nutritional goodness of kale many times before? Kale chips are better than potato chips, in every sense of the word. They're crunchy, salty, curly, and a hint bitter. And you can eat twenty billion and still feel very, very healthy.
Original flavor stars cashews, red peppers, and nutritional yeast. Nutritional yeast has protein and is low fat, and tastes kind of creamy. It comes in yellow flakes that I sprinkle on many things. My granola, pasta, salads... It's yummy. To start this recipe off, you soak the cashes. (This recipe is raw vegan; raw cashews! Though if you don't really care, you can cheat and use roasted, and while I dehydrate the chips at a temperature that still counts as raw level, one can use an oven instead. More on that later.)

The next step is to blend all the other ingredients together to make the sauce.
And, after a serious destemming of the kale and a generous tossing of the sauce, you bake the chips up.
Believe me, this jar was full and I had extra before this picture was taken. I was too busy eating to take any pictures until much after. This again happened with my next batch, lemon-tahini flavor, so I don't think I can post it until I've made a new batch.

 In short, these chips were the bomb. Make them a day before you want them, though, because you have to soak the cashews and de-stem the kale (an awful  momentous task) and, if you're using a dehydtrator, dehydrate all night.

Kale Chips
adapted from love veggies and yoga
makes a real lot, but gets all eaten scarily fast.


note: while I dehydrated these chips, keeping them raw vegan and, I think, giving them that great powdery crunch, you can quite easily adapt this for a normal oven. Bake at 300 F for 20 minutes, flip, and continue for 10 more. Or experiment on your own. The lower the temperature for the longer gets you closer to dehydrator results.


1 medium bunch kale (size varies from bunch to bunch; this recipe works with any size)
1 cup cashews (soaked for at least one hour)
1 medium red bell pepper
juice of half a lemon (2 Tbsp)
1/4 cup (or more) nutritional yeast
1 tsp salt

Wash and destem kale. Put aside.
Chop the pepper and drain the cashews. Add to blender with the lemon, nutritional yeast, and salt. Blend until smooth.
Toss sauce with kale, which should have a fairly thick, uneven coating. You may have extra sauce, which you can put aside and use as dip or for other uses. I'm also someone who loves the bites with an explosion of flavor, so I do a very thick coating.
Put on dehydrator screens (or baking pans if using an oven) and dehydrate at 145 F for 2 hours, and then 118 F for 6 hours-overnight. The longer, the crunchier. If you feel up to it, flip with two hours remaining.
Keeps for over a month in an airtight container, if you can refrain from devouring them all for that long.

14.2.12

Chocolate Truffles

Happy Valentine's Day!
 I have mentioned before that I make food for my frisbee team on a regular basis. This is one of those moments. What is simple, elegant, and irresistable and just screams whispers sexily valentine's day?
 You got it. Truffles. My lovely friend Nina and I gathered in the kitchen near witching hour on saturday and cackled while stirring our cauldron. Uh, wrong holiday. We tenderly rolled these truffles between our gentle fingertips as we crooned softly with dulcet voices. Actually, we sort of did.
 It involved latex gloves. Truffles are basically melted chocolate and cream, but we added an extra-fancy touch (no need to do this if you aren't feeling fussy).
 Once you make and chill the truffles, roll them in a little dollop of melted chocolate so they acquire a thin pure chocolate covering that adds a little crunch when it solidifies.
 These truffles were so sexy. We couldn't take our mouths off of them.
 You drop them in a bowl of cocoa powder for a final coating. I love how the bitterness makes your mouth pucker right before you bite to the creamy center. The really cool thing is why they're called truffles. After dropping them into the cocoa powder, you fish them out with a fork, and it's like you're digging for actual truffles (of the fungi sort) in the ground. I like etymology stories.
We wrapped these up and tied them with fuzzy pink strings and attached tags with pickup lines that ranged from cute ("if I could rearrange the alphabet I'd put you and I together") to really nerdy ("I may look like an ewok but I'm all wookie where it counts") to very frisbee related ("I'd hammer your disc all night long."). Then, today, I ran around manically and flapped my arms like a valentine's fairy and handed these out. The boys were very happy, and so was I.

Make these anytime. Literally, they're just chocolate and cream. How badly could you mess that up?

Chocolate Truffles
adapted from Smitten Kitchen
makes about 60 truffles


note: Don't double the recipe. It doesn't work like that. So these are precious.


1 bag (about 11 oz) bittersweet chocolate chips
2/3 cup heavy cream
unsweetened cocoa powder for dusting

Place about 3/4 chocolate (8 oz) in a bowl and bring heavy cream to a boil in a small heavy saucepan. Make sure your pan is small, so you’ll lose the least amount of cream to evaporation, and heavy, which will keep the cream from scorching. When boiled, pour the cream over the chocolate, which will melt as you stir.

Be careful to stir slowly (don't whisk; you want to incorporate as little air as possible) until ganache is smooth.

Place in fridge until thick enough to hold a shape, about 45 minutes to an hour. Then, take two spoons. Scoop a small amount of ganache onto one spoon and scrape onto another, transferring back and forth until it hold a smooth spherical shape. Drop onto a plate or cookie sheet. Do this for all the ganache (it will look like not enough, but by the end you'll have 60). Freeze until firm, about 15 minutes.

Meanwhile, melt remaining chocolate (3 oz) in a small bowl and smear some on a gloved hand. Gently rub each chilled truffle to coat lightly with chocolate.

As you finish each ball, toss the truffles in a bowl cocoa powder and dig up with a fork. Shake truffles in a sieve to eliminate excess powder when you're done.

Store truffles in the refrigerator.